RV enthusiasts understand the importance of maintaining the appearance and functionality of their beloved vehicles. Well, a crucial part of that maintenance is ensuring that your RV is properly dried after washing it. This will not only leave your RV looking shiny and new but also prevent water damage, mold, and mildew.
So, whether you’re a seasoned RV pro or a newbie, the process of drying an RV after washing it can seem overwhelming. But with the right equipment and a few simple steps, you can have your RV sparkling in no time.
That’s what we’ll look at below. So buckle up, grab your microfiber towels and chamois cloth, and let’s get started!
Gather the Right Equipment
To dry an RV after washing it, first clear debris and wash the exterior with soap and water, then, rinse thoroughly and let excess water drain. Use a microfiber towel or chamois to dry the exterior, and leave windows and doors open to circulate air and dry the interior. Finally, follow up with maintenance such as checking and cleaning seals, waxing, and inspecting for damage.
We’re about to look at each of these in detail.
The first step in drying your RV after washing it is to gather the right equipment. With the right tools, you can effectively and efficiently dry your RV, preventing water damage and ensuring a sparkling finish. Here are the essential items you’ll need:
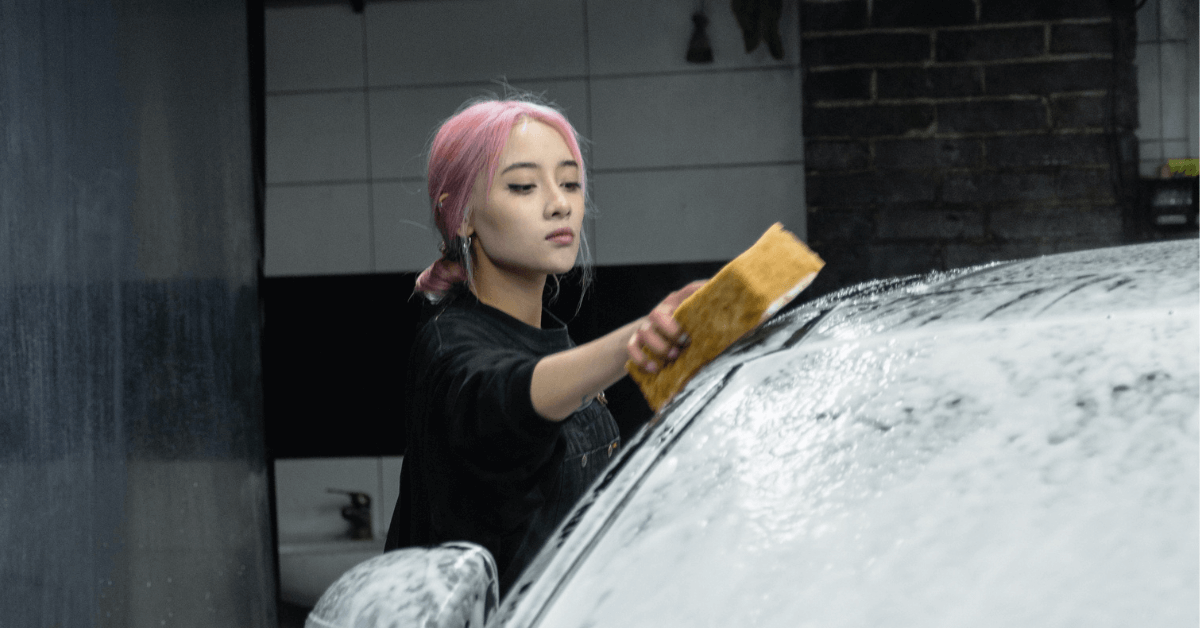
1. Microfiber towels
Microfiber towels are absorbent, scratch-free, and lint-free, making them perfect for wiping down the surfaces of your RV. These towels are available in various sizes and are a must-have in your RV cleaning kit.
2. Chamois cloth
A chamois cloth is a specially treated piece of leather that’s used to dry surfaces by absorbing water. It’s a highly effective tool for drying large surfaces, such as the exterior of your RV.
3. Squeegee
A squeegee is a handy tool for removing excess water from surfaces and preventing water spots.
4. Clean rags
Clean rags are perfect for wiping down the interior of your RV and for cleaning any crevices and corners.
5. Air compressor (optional)
An air compressor is not a must-have tool, but it can be useful for blasting away water in tight spaces, such as under the awning or around the window seals.
With these essential items in hand, you’re ready to tackle any RV washing and drying job. So, let’s move on to the next step and get started!
Related: How To Enjoy RV Camping
Clearing Debris
Before you start drying your RV, it’s essential to remove any excess water and debris. This will make the drying process much easier and prevent water spots from forming. Here’s what you need to do:
1. Remove excess water with a squeegee
After washing your RV, use a squeegee to remove any excess water from surfaces. This will prevent water from pooling and forming water spots.
2. Wipe down surfaces with microfiber towels
Use microfiber towels to wipe down surfaces and remove any remaining water. Make sure to wring out the towels regularly to avoid spreading excess water around.
3. Clean out any crevices and corners
Use clean rags to clean out any crevices and corners, including around the windows and doors. These areas are prone to collecting debris and water, so it’s important to give them a thorough cleaning.
With the debris cleared, you’re ready to move on to the next step and start drying your RV. So grab your chamois cloth and let’s get started!
Drying the Exterior
Drying the exterior of your RV is a crucial step in the washing and drying process. Properly drying the exterior will prevent water spots and protect your RV’s finish. Here’s how to do it:
1. Use a chamois cloth
Start by using a chamois cloth to dry the exterior of your RV. The chamois cloth is highly absorbent, making it ideal for removing water from large surfaces.
2. Work in sections
Start at the top of the RV and work your way down, drying each section thoroughly before moving on to the next. This will prevent water from running down and pooling in lower areas.
3. Pay attention to tight spaces
Make sure to dry any tight spaces, such as under the awning or around the window seals. Use a clean rag or microfiber towel to get into these areas and remove any remaining water.
5. Use an air compressor (optional)
If you have an air compressor, use it to blast away any remaining water in tight spaces. This will ensure that these areas are completely dry and prevent water from pooling.
Now that the exterior is taken care of, let’s move on to the next step and dry the interior.
Drying the Interior
The interior of your RV is just as important as the exterior when it comes to drying after washing. Properly drying the interior will prevent mold and mildew growth, and ensure a clean and comfortable living space. Here’s what you need to do:
1. Open windows and turn on fans
To aid in the drying process, open windows and turn on any fans you have. This will help circulate air and remove any moisture in the air.
2. Wipe down surfaces with microfiber towels
Use microfiber towels to wipe down surfaces and remove any excess water. Make sure to get into any crevices and corners, including around windows and doors.
3. Clean carpets and upholstery
If your RV has carpet or upholstery, use a clean rag or microfiber towel to wipe them down and remove any water.
4. Leave cabinets open
To prevent mold and mildew growth, leave any cabinets and drawers open to allow air to circulate.
With the interior and exterior both taken care of, it’s time to move on to the final step and put everything away.
Maintenance After Drying
Now that your RV is all dried up, it’s time to give it a little extra TLC to keep it in tip-top shape. Here are a few maintenance tips to follow after drying your RV:
1. Wax your RV
Applying a coat of wax to your RV will help protect its finish and keep it looking shiny and new.
2. Check and clean seals
Take a moment to inspect all seals around windows, doors, and compartments. Clean any dirt or debris from the seals to ensure a tight seal and prevent water damage.
3. Clean and store your drying equipment
Clean and store all of the equipment you used to wash and dry your RV. This includes the hose, bucket, soap, and towels. Properly storing your equipment will ensure it’s ready for the next time you need it.
4. Inspect for any damage
Finally, take a walk around your RV and inspect for any damage. Check for any dents, scratches, or cracks, and address them promptly to prevent further damage.
By following these maintenance tips, you’ll have a clean and well-maintained RV ready for your next adventure!
And that’s it, folks! You’ve now learned how to dry your RV after washing it like a pro. With a little bit of elbow grease and the right equipment, you’ll have your RV shining like new in no time. Happy camping!