As an outdoor enthusiast, you understand the importance of maintaining your recreational vehicle (RV) to keep it in top condition. After all, your RV is your home away from home, and you want it to look and feel its best for all your adventures. That’s why waxing your RV is a must-do task to ensure its protection from the elements and keep it looking shiny and new.
Waxing your RV provides numerous benefits, including protection from UV rays, water spots, bird droppings, and other environmental factors that can damage the exterior. Additionally, a well-waxed RV is easier to clean, as dirt and grime won’t adhere to the surface as easily.
With that in mind, below, you’ll learn the best way to wax your RV, from preparation to maintenance, to ensure a smooth and glossy finish. So sit back, grab a coffee, and get ready to learn the art of waxing your RV.
Step 1: Prepare Your RV For the Wax Job
Before you start waxing your RV, it’s crucial to prepare the surface and gather the necessary materials and tools. This will ensure the waxing process goes smoothly and achieves the best results. Here’s what you need to do:
1. Cleaning the RV surface
Waxing your RV is like applying a fresh coat of paint, and you want to make sure the surface is clean and free of any dirt or grime. Wash your RV thoroughly with soap and water, paying extra attention to any tough spots or stains. Rinse the RV well and let it dry completely before you start waxing.
2. Gather necessary materials and tools
To wax your RV, you’ll need a few basic tools and materials. You’ll need:
- RV wax of your choice (make sure to choose one that’s suitable for your RV’s surface. More on that in the next section)
- A clean, soft cloth for applying the wax
- A separate cloth for buffing and polishing
- A ladder or step stool if necessary
3. Ensure the RV is in a shaded area
Waxing your RV in direct sunlight is a recipe for disaster, as the heat can cause the wax to dry too quickly and leave streaks. Make sure you park your RV in a shaded area before you start waxing.
With these preparation steps, you’re ready to start waxing your RV. Keep in mind that taking the time to prepare properly will ensure the best possible outcome and make the waxing process easier and more efficient. So, take a deep breath, grab your materials, and let’s get started!
Step 2: Pick the Right Wax
One of the most critical steps in waxing your RV is choosing the right wax. With so many options on the market, it can be overwhelming to pick the perfect formula for your RV. However, by considering a few key factors, you can make the right choice and achieve the best results.
1. Types of RV wax
There are two main types of RV wax: liquid and paste. Liquid wax is easier to apply and dries faster, but it may not last as long as paste wax. On the other hand, paste wax takes longer to apply and dries slower, but it provides a longer-lasting shine.
Decide which type of wax is best for you based on your preferences and the amount of time you’re willing to spend waxing your RV.
2. Consideration of RV surface material
Your RV’s surface material is another important factor to consider when choosing the right wax. Make sure to choose a wax that’s compatible with the material your RV is made of, whether it’s fiberglass, aluminum, or a different material.
Some waxes are specifically designed for certain materials, so be sure to read the label before you make your purchase.
3. Environmental factors
The environment you’re in can also impact your choice of RV wax. If you’re in a hot and sunny area, look for a wax that contains UV inhibitors to protect your RV from the sun’s damaging rays. If you’re in a humid area, look for a wax that resists water spots and helps keep your RV looking shiny and new.
Related: How Do You Dry An RV After Cleaning It?
Step 3: Apply the Wax (Giving Your RV a Shiny, New Look)
Now that you’ve prepared your RV and chosen the right wax, it’s time to get down to the nitty-gritty and start applying the wax. This is where your hard work will pay off and your RV will transform from dull to dazzling. Here’s how to do it:
1. Apply a small amount of wax to a clean, soft cloth
Start by applying a small amount of wax to a clean, soft cloth. Too much wax will make it difficult to spread evenly, so use a small amount and add more as needed.
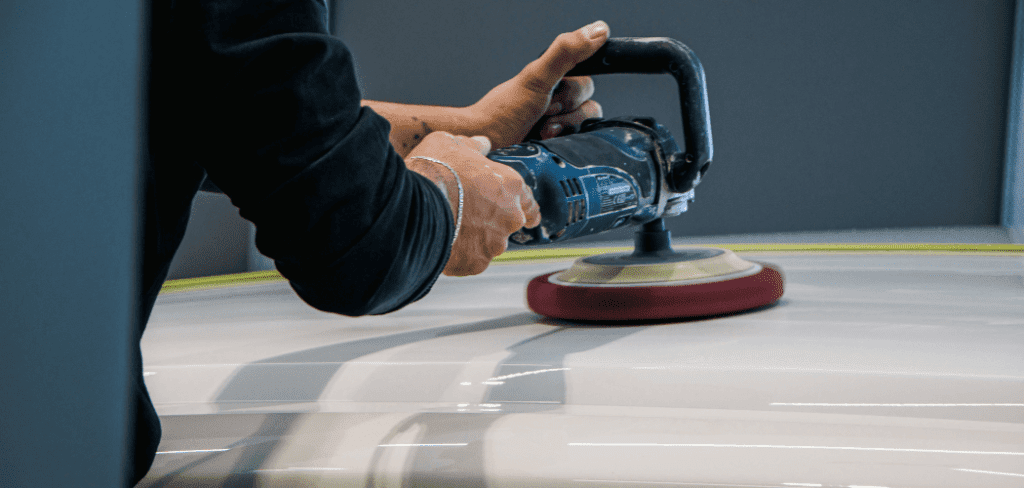
2. Apply the wax in circular motions
Start at the top of your RV and work your way down, applying the wax in circular motions. Make sure to cover every inch of the surface, including all corners, crevices, and seams. Take your time and don’t rush, as a little extra effort will pay off in the end.
3. Let the wax dry
Once you’ve applied the wax to the entire surface of your RV, let it dry completely. This will typically take between 10 and 20 minutes, depending on the type of wax you’re using and the temperature and humidity of your environment.
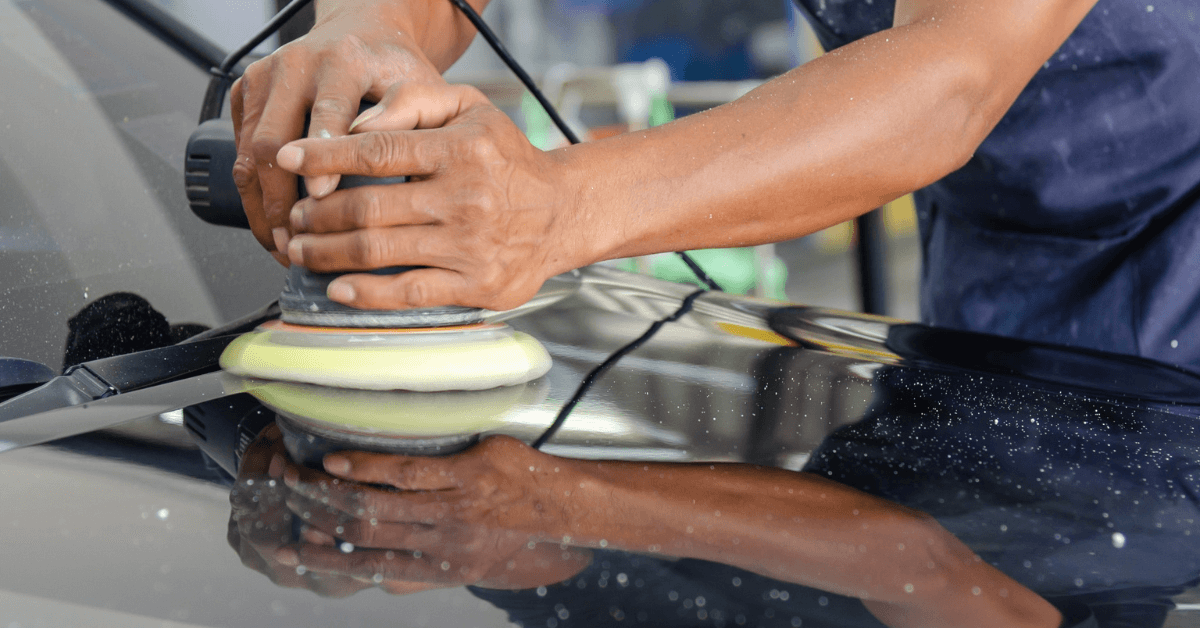
4. Buff and polish
Once the wax has dried, it’s time to buff and polish. Use a separate clean, soft cloth to buff the surface in a circular motion. Pay extra attention to areas that may have dried unevenly, as these will require more buffing to achieve a smooth, even shine.
Step 4: Buffing and Polishing
You’ve applied the wax, let it dry, and now it’s time for the final touch: buffing and polishing. This step will bring out the full shine and luster of your RV and make it look like it just rolled off the showroom floor. Here’s what you need to know:
1. Use a clean, soft cloth
Make sure to use a clean, soft cloth for buffing and polishing. An old T-shirt or microfiber cloth works well. Avoid using rough or scratchy cloths, as these can damage the surface of your RV.
2. Buff in circular motions
Start at the top of your RV and work your way down, buffing in circular motions. Make sure to cover every inch of the surface, including all corners, crevices, and seams. Take your time and don’t rush, as a little extra effort will pay off in the end.
3. Pay extra attention to areas that may have dried unevenly
Areas that may have dried unevenly will require more buffing to achieve a smooth, even shine. Pay extra attention to these areas and continue buffing until the surface is smooth and shiny.
4. Check for any streaks or smudges
Once you’ve finished buffing and polishing, take a step back and check for any streaks or smudges. If you find any, use a clean, soft cloth to gently buff the affected areas until the streaks or smudges disappear.
With these simple steps, you’ll be able to buff and polish your RV like a pro. The results will be stunning, and your RV will look like new. You’ll be ready to hit the road in style and turn heads wherever you go!
Buffing and polishing is a quick and easy step that makes a big difference in the final result. So, take your time and do it right, and you’ll be rewarded with a dazzling, shiny RV that will be the envy of all outdoor enthusiasts!
Step 5: Maintenance
Congratulations! You’ve waxed your RV and it’s looking fantastic. But the work doesn’t stop there. Regular maintenance will keep your RV looking like new for years to come. Here’s what you need to know:
1. Regular washing
Wash your RV regularly to remove dirt, grime, and other contaminants that can dull the shine. Use a gentle soap specifically designed for RVs and wash in the shade to avoid water spots.
2. Protect from UV rays
Park your RV in a shaded area when not in use to protect it from the sun’s harmful UV rays. Invest in a quality RV cover to further protect your investment.
3. Avoid harsh chemicals
Avoid using harsh chemicals or abrasive cleaners on your RV. Stick to mild soaps and cleaners specifically designed for RVs.
4. Inspect and touch up regularly
Inspect your RV regularly for any cracks or chips in the wax. Touch up any areas as needed to maintain the shine and protect the surface of your RV.
5. Re-wax as needed
Re-wax your RV as needed, following the steps outlined in this article. A good rule of thumb is to re-wax your RV every 6 to 12 months, depending on the amount of use and exposure to the elements.
I know, Maintenance may seem like a chore, but it’s a small price to pay for a stunning, well-maintained RV. So, roll up your sleeves, grab your cleaning supplies, and get to work. The results will be worth it!